Free Shipping $99+ | Duties Covered in Select Countries ✅ [Check Policy]
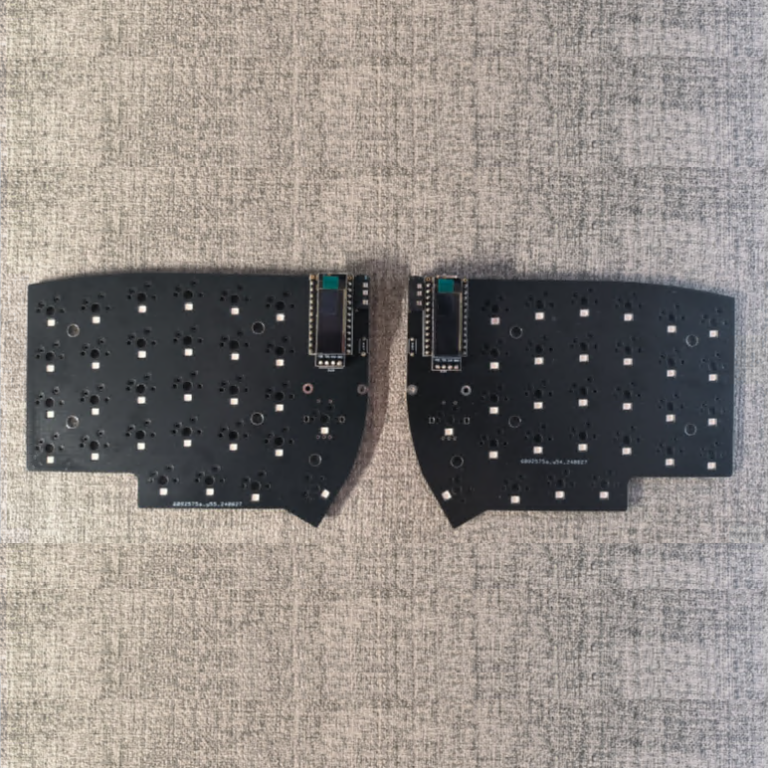
How to Flash ProMicro RP2040
This guide provides a step-by-step instruction on flashing firmware to your ProMicro RP2040, suitable for both first-time users and those performing subsequent firmware updates.
Obtain the.uf2 Firmware File
- Method 1: Go to our GitHub qmk page, select the appropriate firmware for configuration and building according to your personal needs, and thus obtain the required.uf2 firmware file.
- Method 2: Customers prepare and compile the firmware by themselves.
Required Tools
- A computer
- A Type-C USB data cable
- Tweezers (optional, only needed if the boot button is inaccessible due to soldering)
Flashing Firmware: Step-by-Step Instructions
1. First-Time Firmware Flashing (Boot Button Accessible)
If you are flashing firmware for the first time and the boot button on your ProMicro RP2040 is accessible:
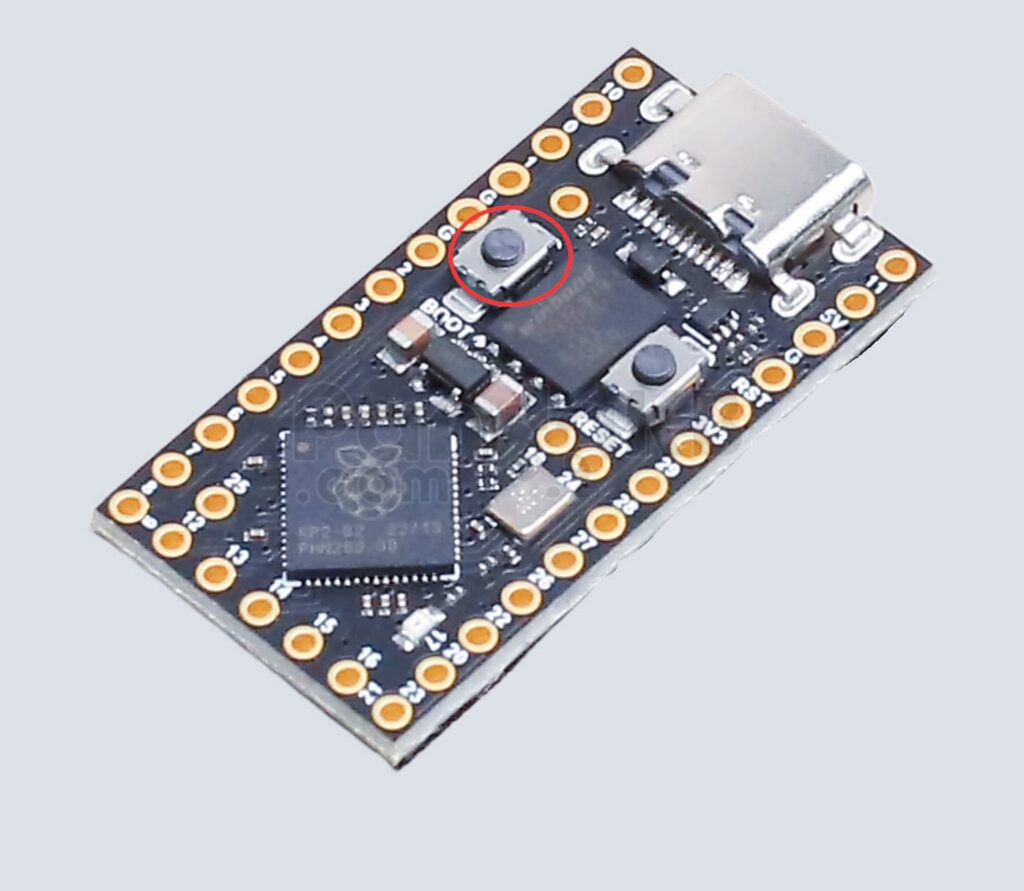
- Step 1: Press and hold the boot button on the ProMicro RP2040.
- Step 2: While holding the button, connect the board to your computer using the Type-C USB cable.
- Step 3: Release the boot button after the connection is established.
- Step 4: Your computer will recognize a new storage device named “RPI-RP2”.
- Step 5: Drag and drop the firmware file (usually with a .uf2 extension) into this storage device. The firmware will start installing automatically.
2. Flashing When Boot Button Is Inaccessible (Post-Soldering)
If the ProMicro RP2040 has been soldered (e.g., onto a keyboard PCB), making the boot button hard to press, use tweezers to short-circuit the pins:
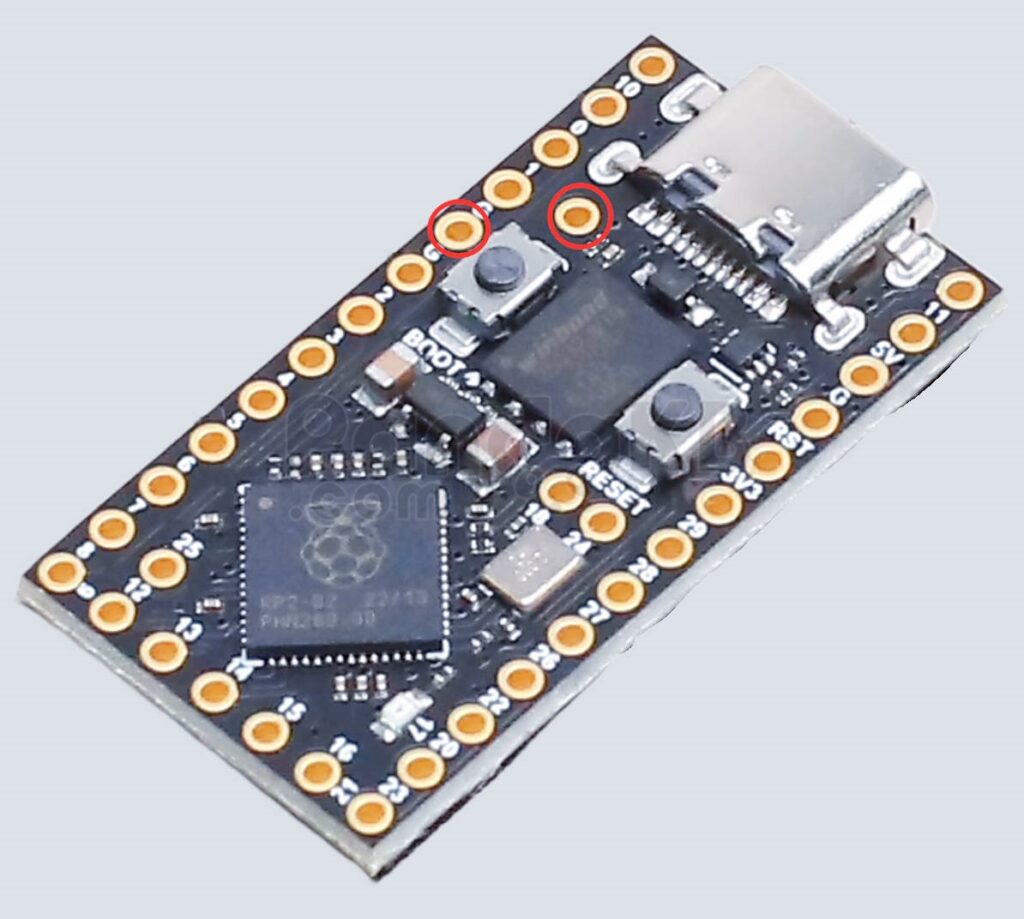
- Step 1: Locate the GND and BOOT pins on the board (refer to the above diagram for the pin positions).
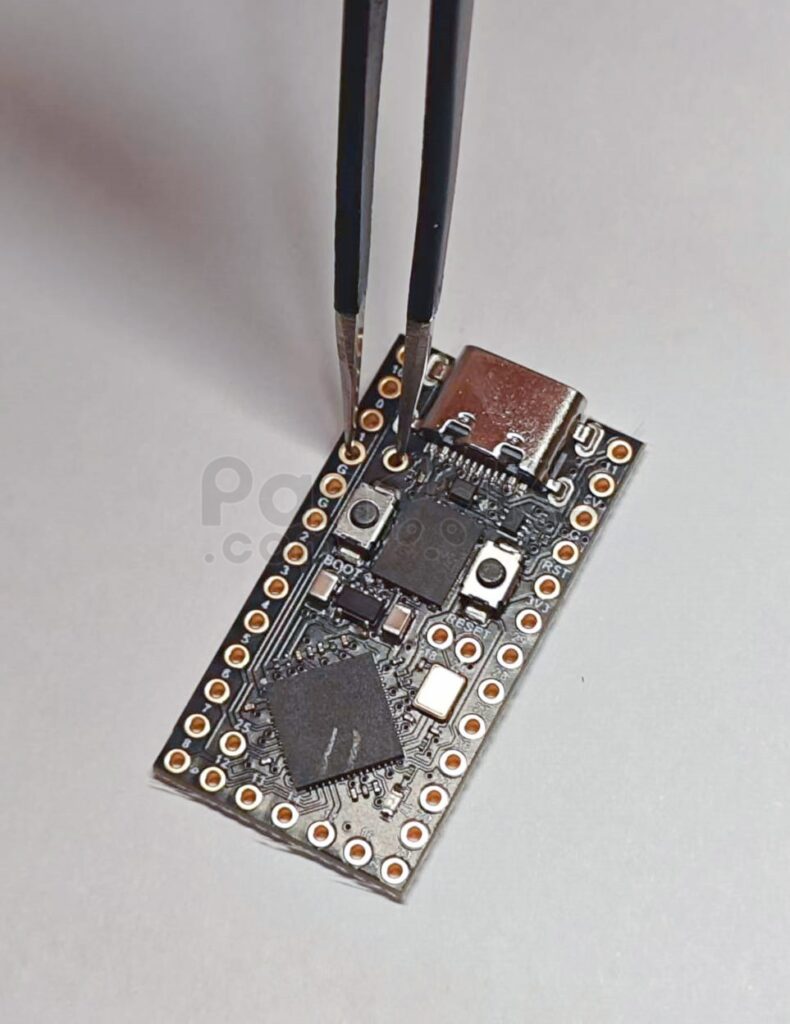
- Step 2: Use tweezers to short-circuit these two pins.
- Step 3: While keeping the pins shorted, connect the board to your computer via the USB cable.
- Step 4: Release the tweezers immediately after the connection is made (no need to keep the pins shorted during firmware transfer).
- Step 5: The “RPI-RP2” storage device will appear. Copy the firmware file into it to start the flashing process.
3. Subsequent Firmware Updates (After Initial Flash)
For re-flashing firmware after the first installation:
- Step 1: Connect the ProMicro RP2040 to your computer using the USB cable.
- Step 2: Double-click the reset button (either the physical button on the ProMicro RP2040 or the reset button on your keyboard PCB, if available).
- Step 3: The “RPI-RP2” storage device will reappear. Paste the new firmware file into this device to complete the update.
Additional Notes
- Red Light Indication: If the ProMicro RP2040 flashes a red light after connecting to the computer, it means no valid firmware is installed. Follow the first-time flashing steps above to resolve this.
- Firmware Compatibility: Ensure the firmware file is specifically designed for the ProMicro RP2040 and matches your intended use (e.g., keyboard firmware, custom application firmware).
- Safety Precautions: When using tweezers for pin shorting, ensure they are clean and non-conductive except at the tips to avoid accidental damage to the board.