Free Shipping $99+ | Duties Covered in Select Countries ✅ [Check Policy]
Mecha42 Corne V3 MX Case Assembly Guide
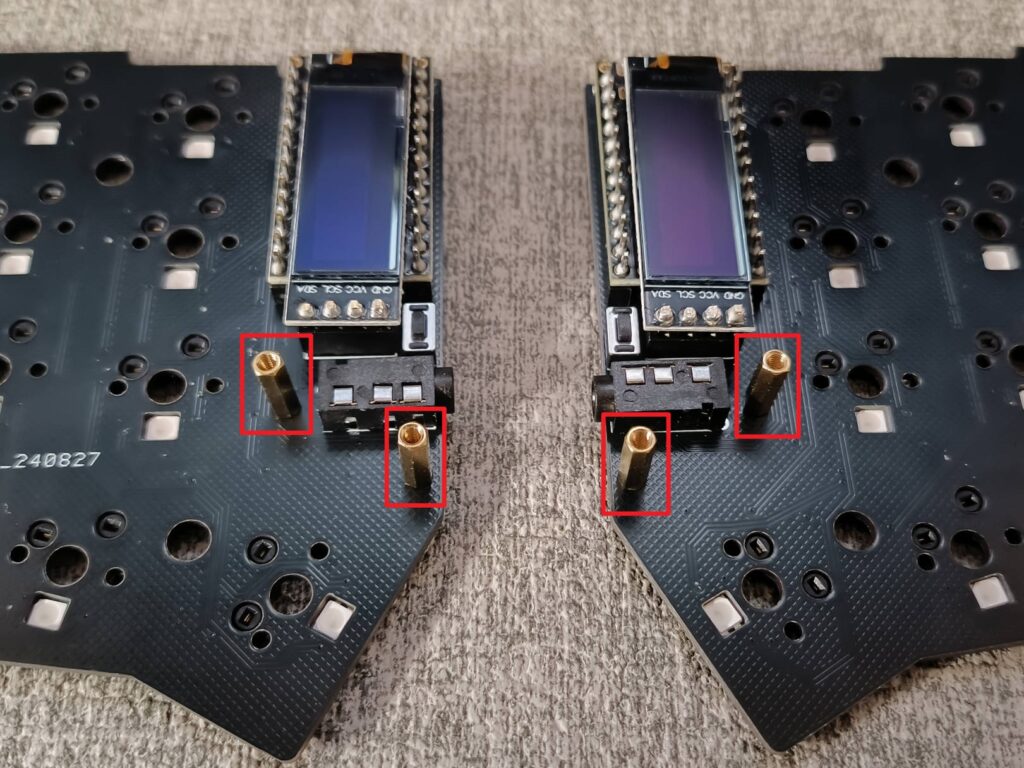
1. Attach Standoffs to the Soldered PCB
Use M2x5 screws to fix the standoffs onto the soldered PCB.
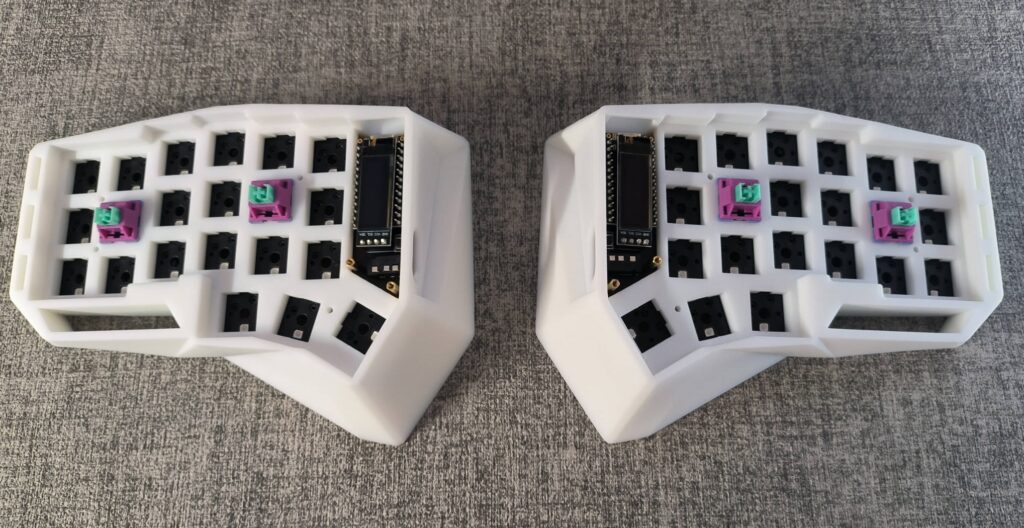
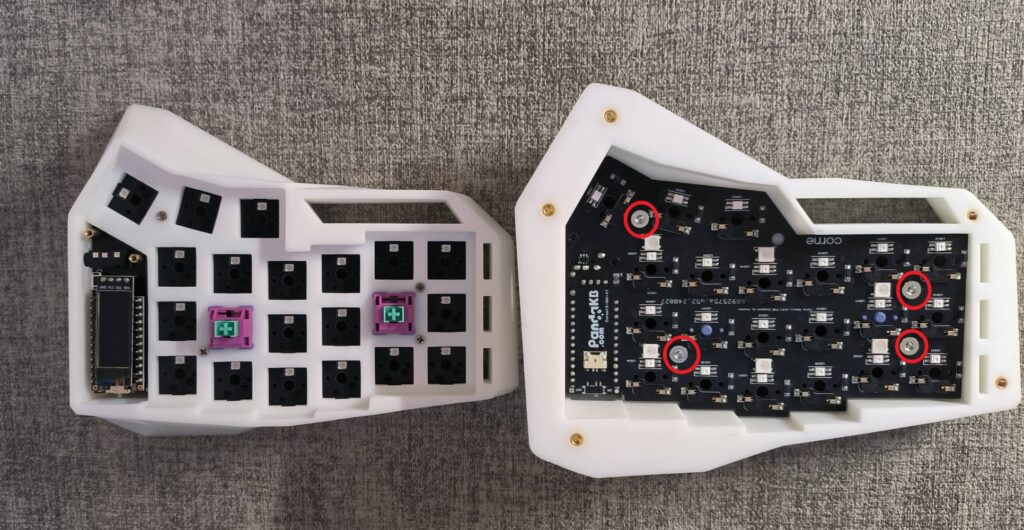
2. Position PCB in the Case
Insert the PCB into the case, then insert a few MX switches into the sockets to hold the PCB in place.
3. Fix PCB with M2x9 Screws and Nuts
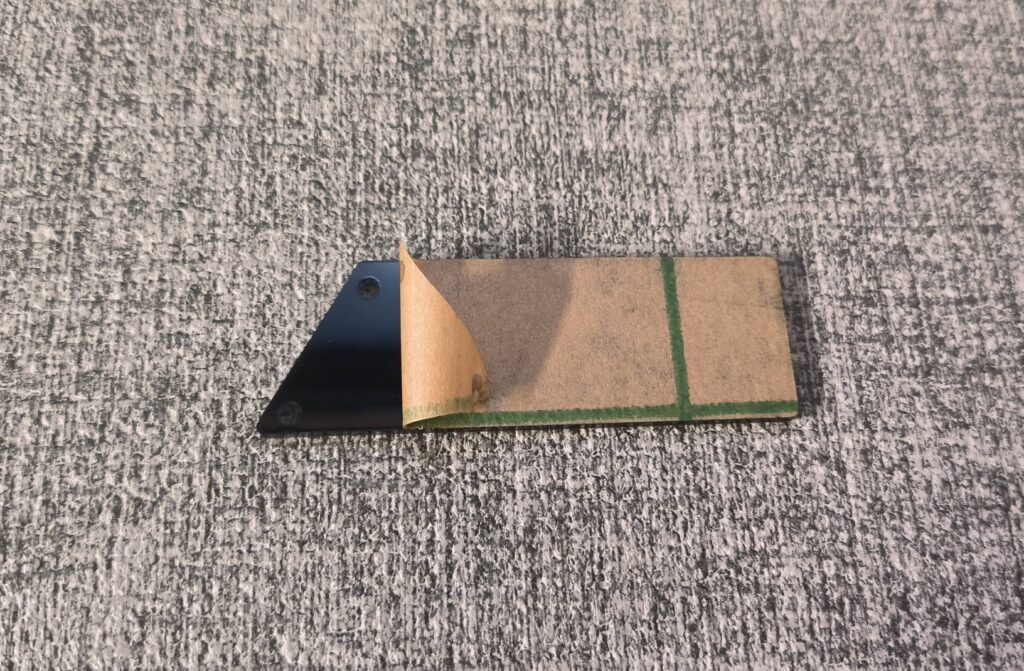
4. Remove Acrylic Protective Film
Peel off the protective film from both sides of the acrylic panels.
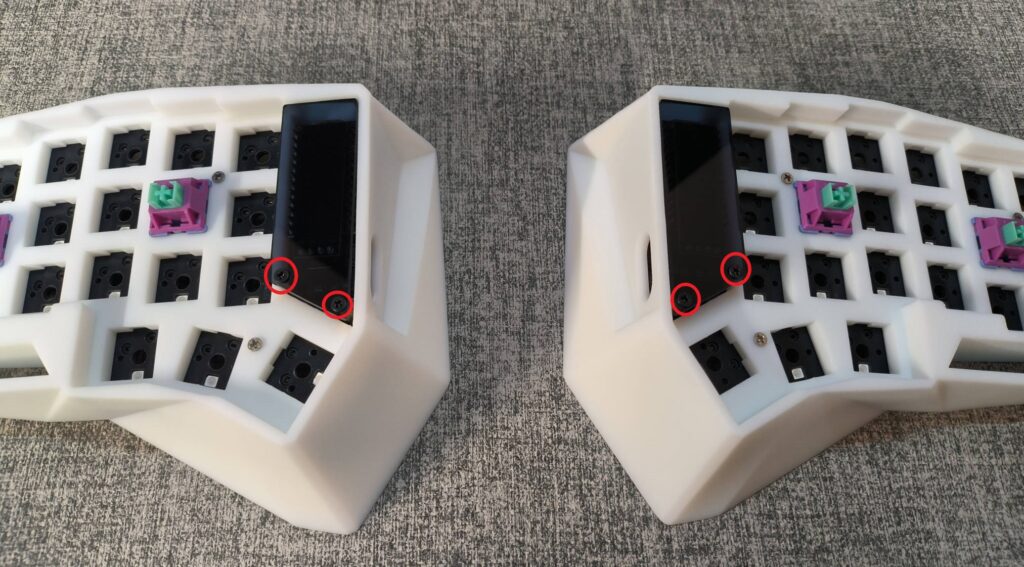
5. Fix the screen acrylic cover to the standoffs using M2x5 screws.
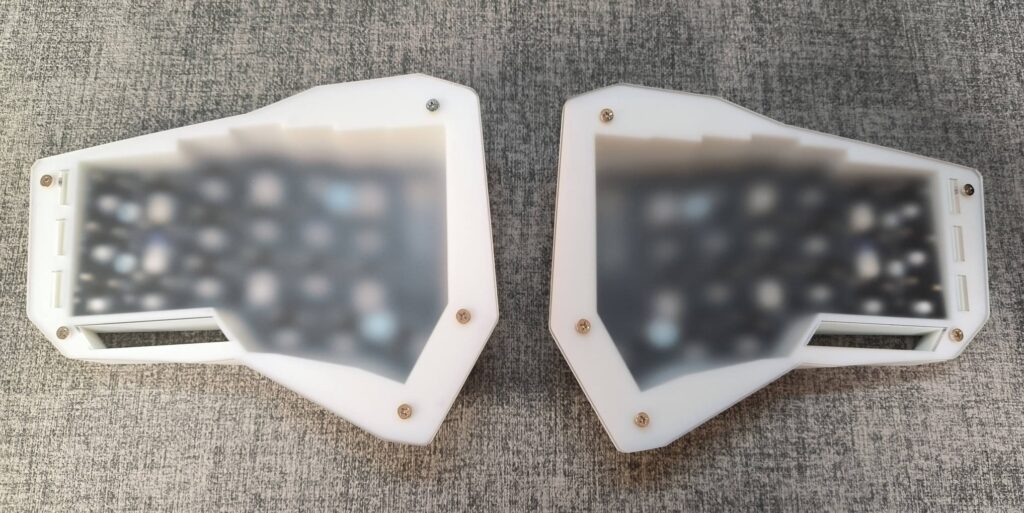
6. Install All MX Switches, Test, and Secure Bottom Plate
First, install all MX switches into the PCB sockets. Conduct a full functionality test of the switches. After successful verification, fasten the bottom plate with M3x5 screws.
Notes
Ensure all screws are tightened gently to avoid damaging the acrylic or PCB.